Creating your first Event Type
1. Understanding Event Type
Event types are ways using which you segregate your calendar and hours. For instance, if you run five different activities in a day. You can segregate hours of day, and days of week for each activity type, in our terminology we call it event type. In this article let us see, how we create an event type.
2. Creating the Event Type
Karen, one of the most commonly used scheduling softwares, offers two kinds of events: ‘One to One Events’ and ‘Group Events’.
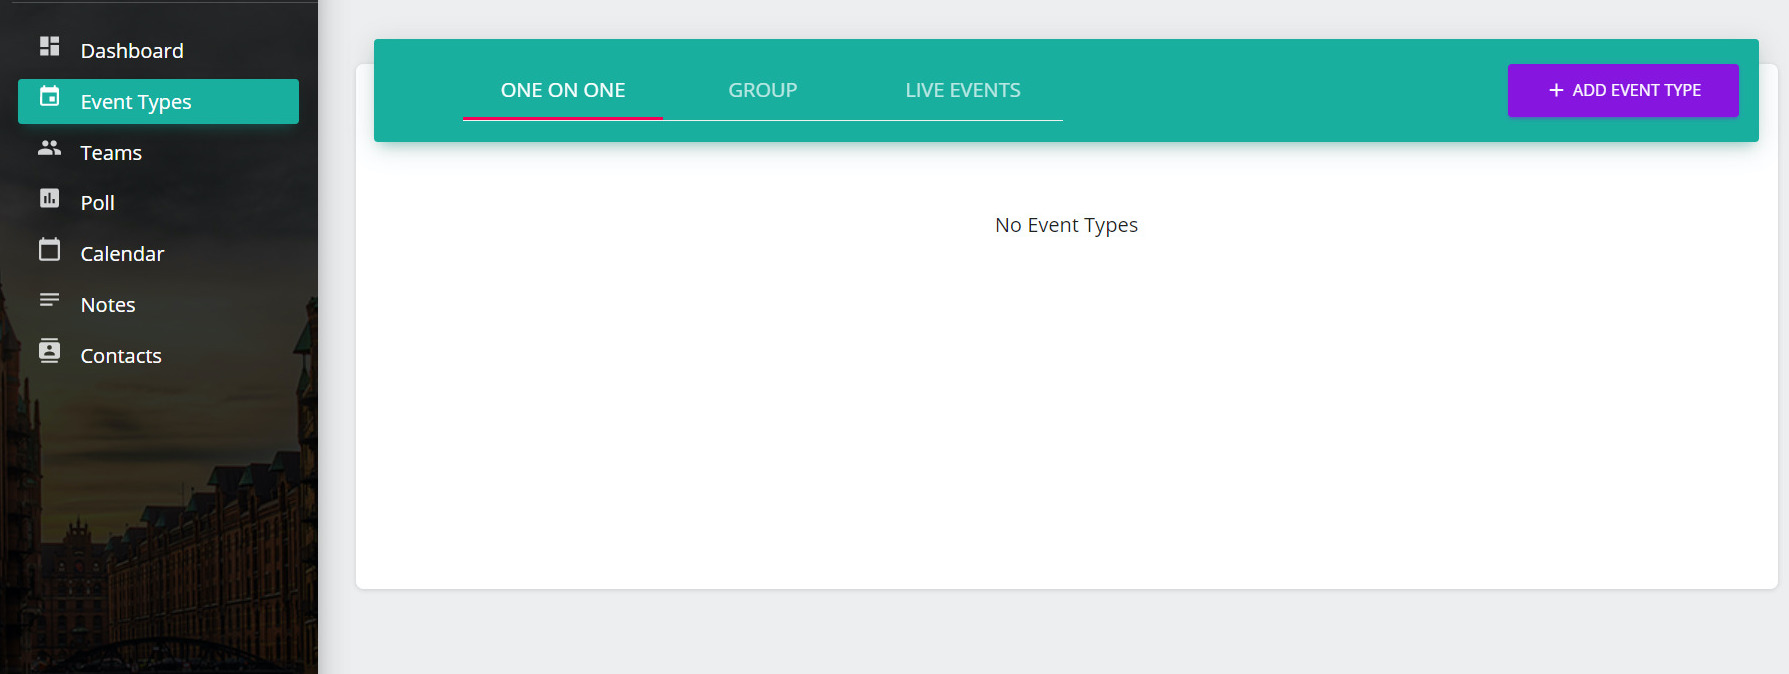
After you have logged in, you can create an event by clicking on the ‘Add event type’ Button in the Event Types section.
You will be asked to select from the two options ‘One on One’ and ‘Group’, you can select the required option.
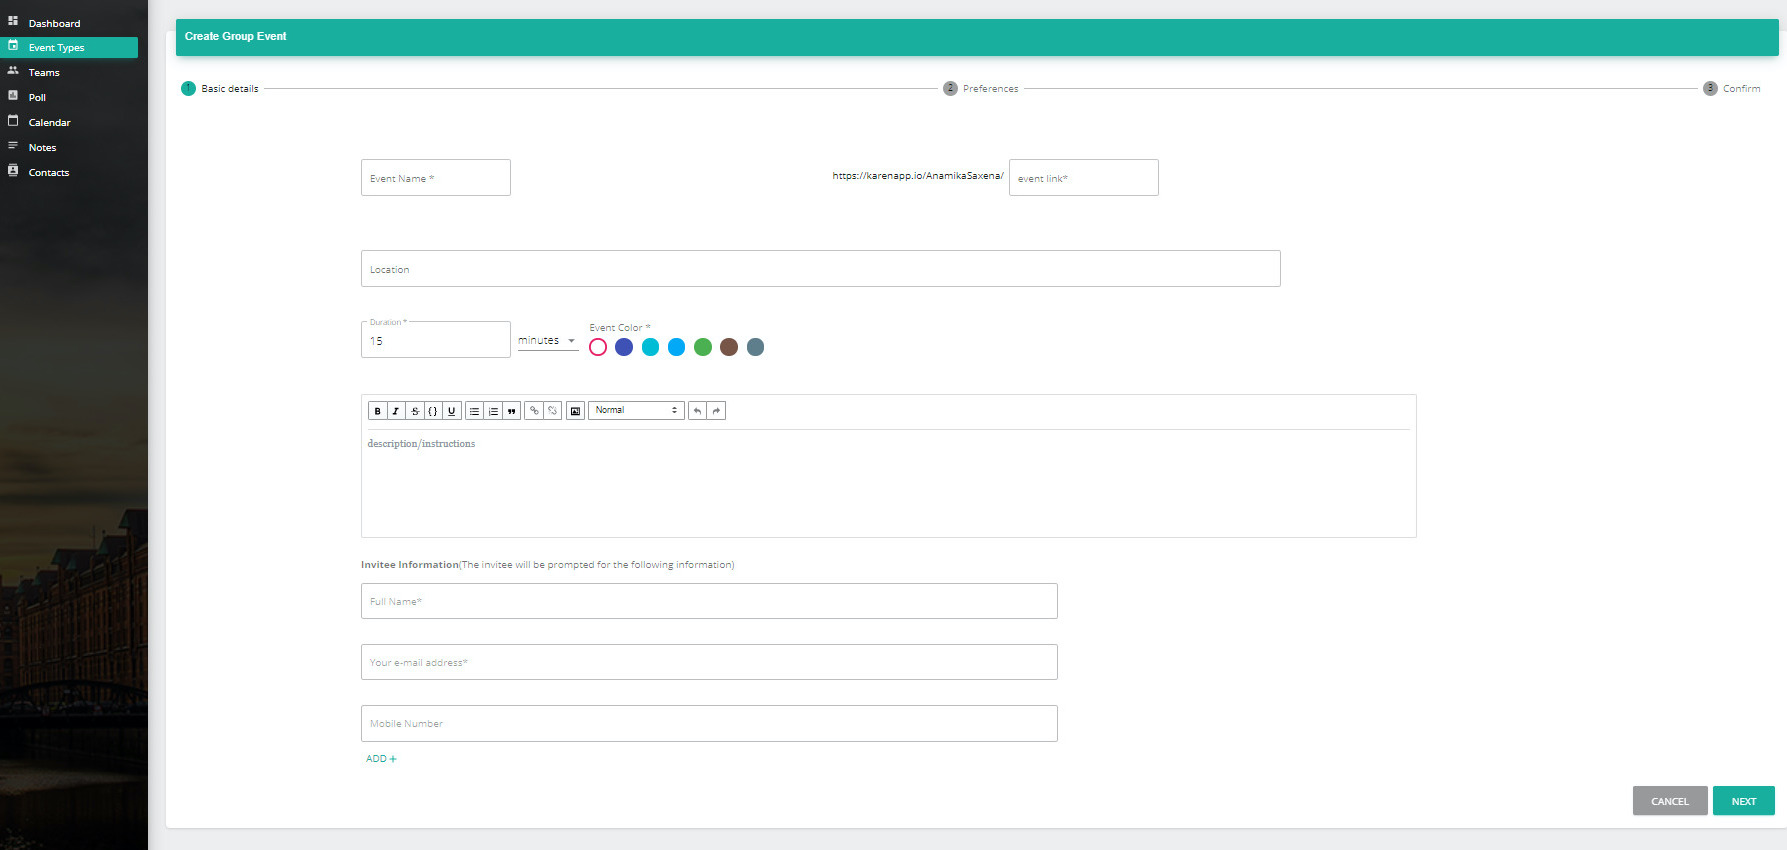
This will take you to the next page which will ask you for the information required to create the event type.
In the event name section, type in the name of the planned event type. You need to then enter the location of the event and its duration. You can change the duration from minutes to hours by selecting from the drop down menu.
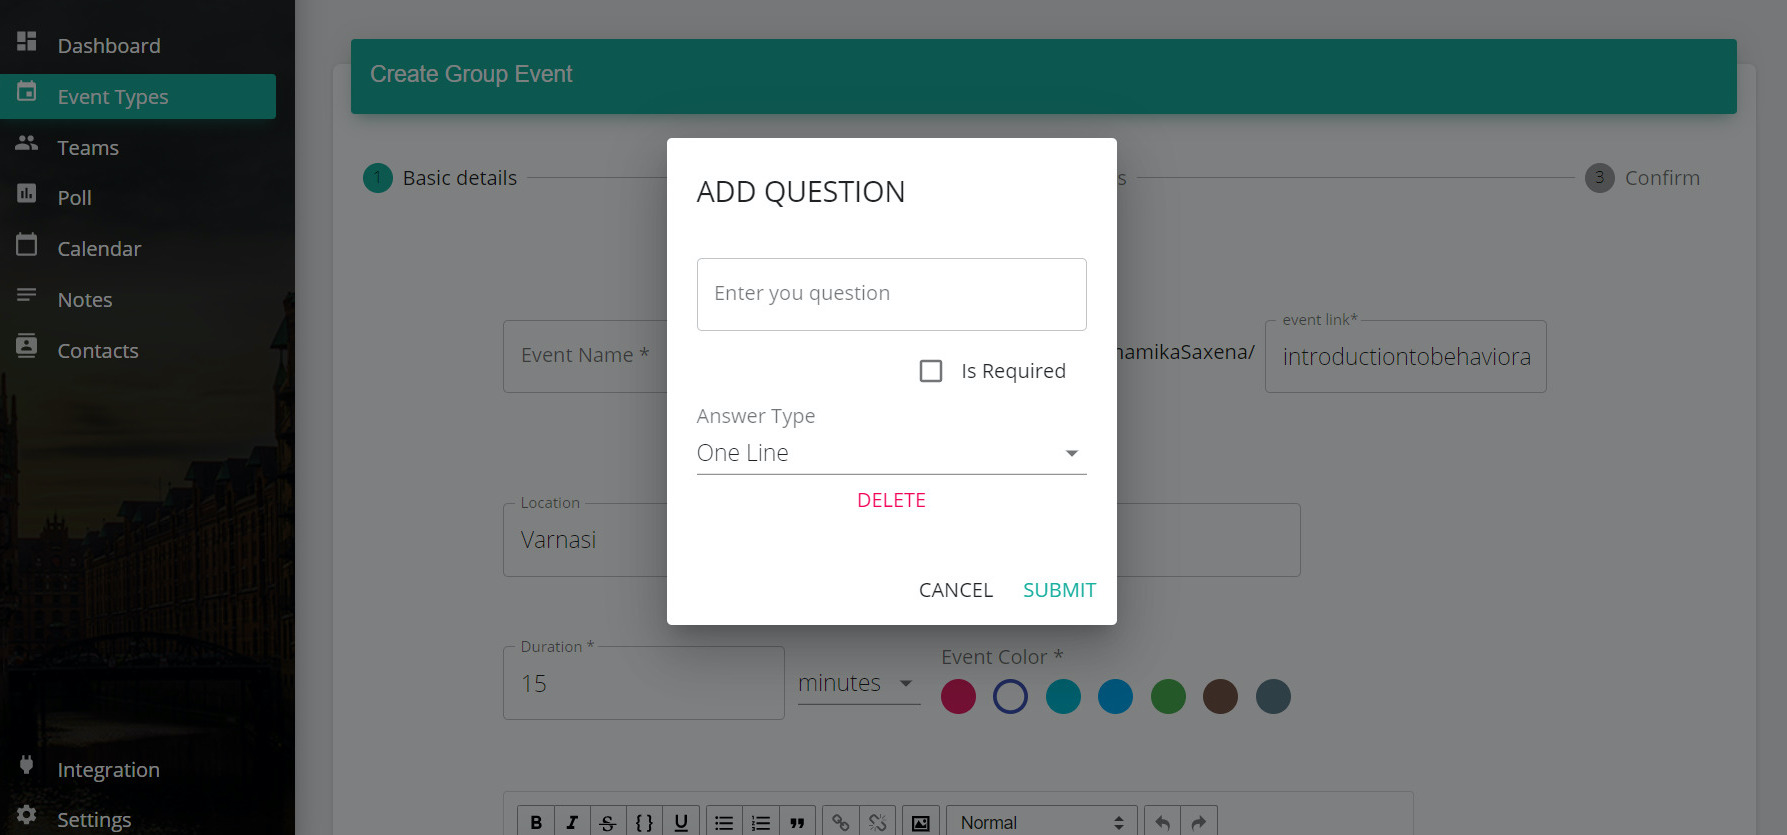
Next, write a description of the event and review the information that will be asked by your clients while booking in. In case you want to add a question that the clients have to answer, you can click on the ‘Add’ button. This will take you to a subwindow.
(Optional) You can enter your question in the tab, and select whether the question is a required field or not by clicking on the checkbox. Next, select the type of answer by clicking on the drop down menu and click on submit to add the question.
Click on ‘Next’ to proceed, and you will be asked to fill in the time and availability of your event type.
Here you can select your business hours for the event, the starting and ending dates and time of the event, the days of the week you will be available, and the number of slots per meeting. You then have to set the reminder to be sent to your clients, and the success message to be sent after booking.
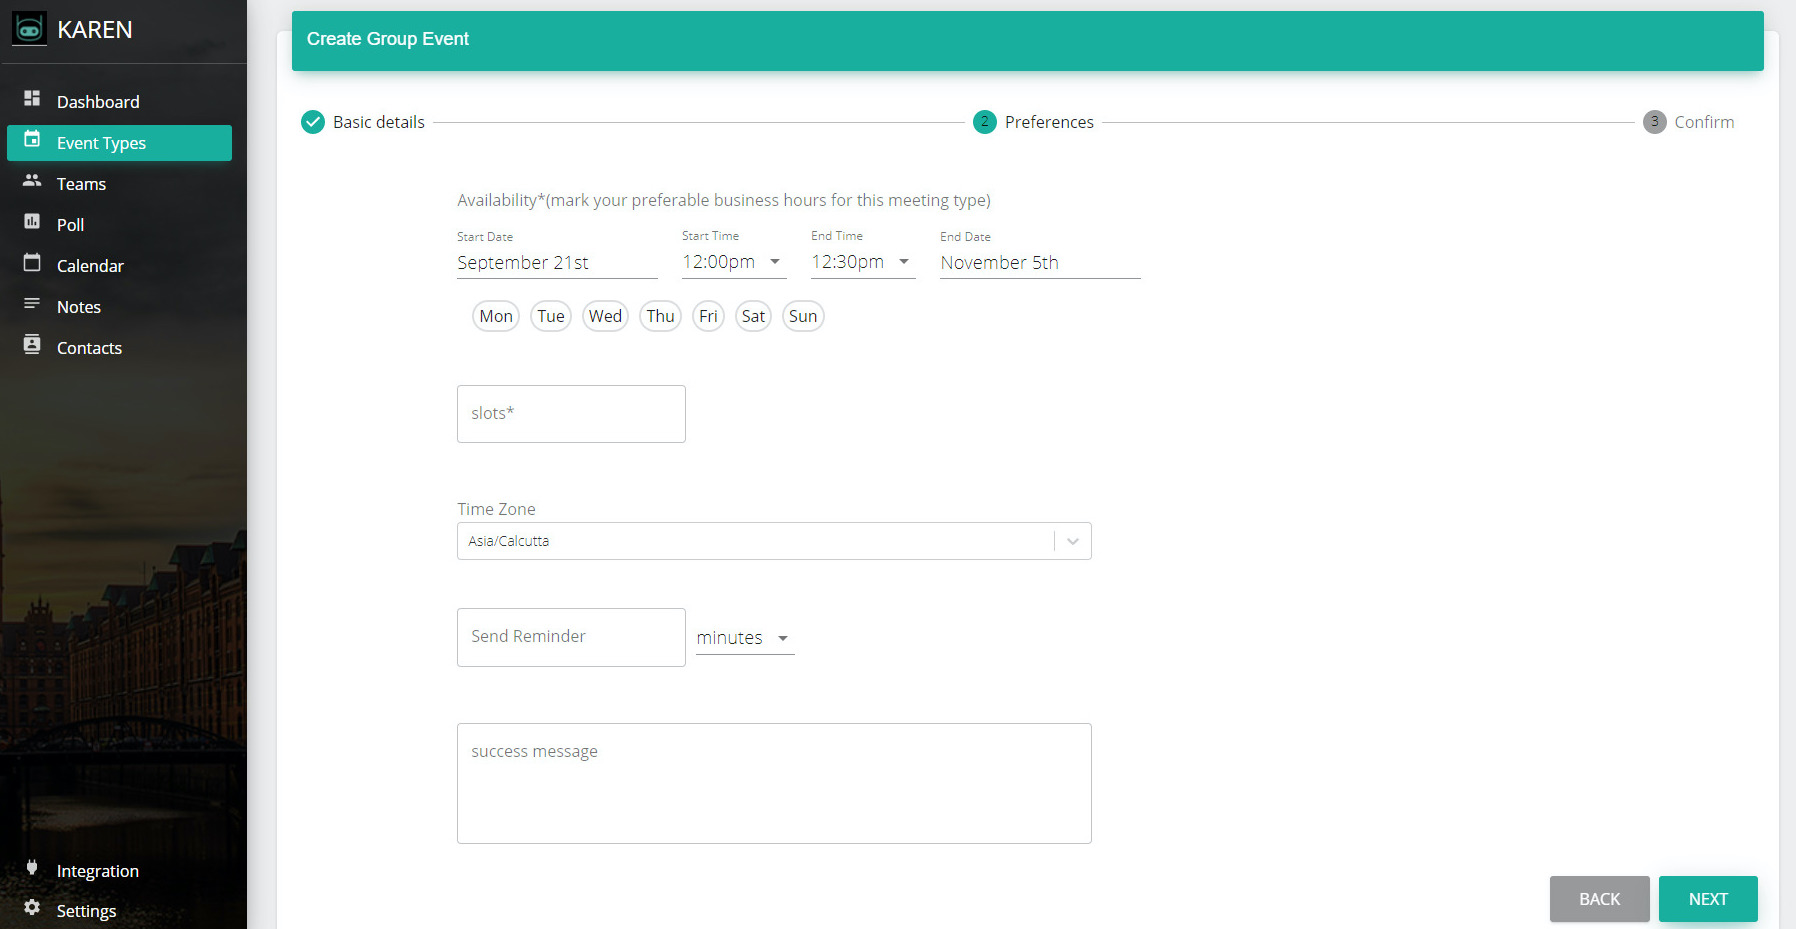
After filling in these details, click on ‘Next’.
The next page displays all the information you have filled in for the event type.
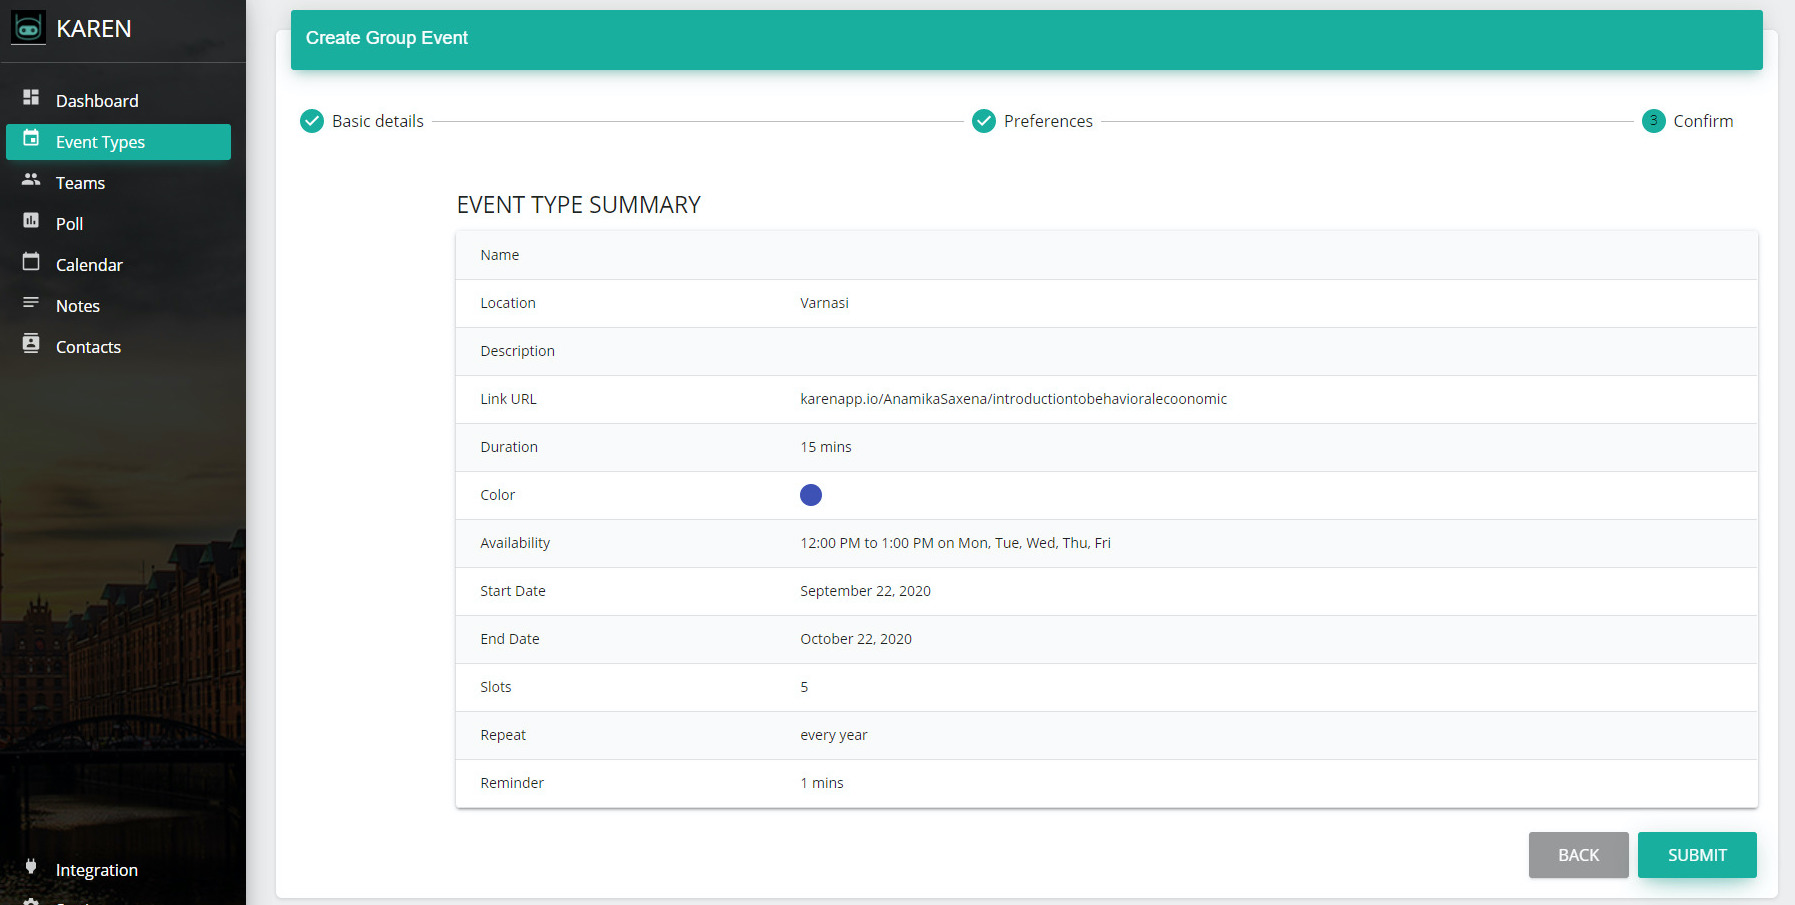
If all the details are correct, click on ‘Submit’, else click on ‘Back’ and edit the details.
Your event type is now created.
3. Previewing the Event Type
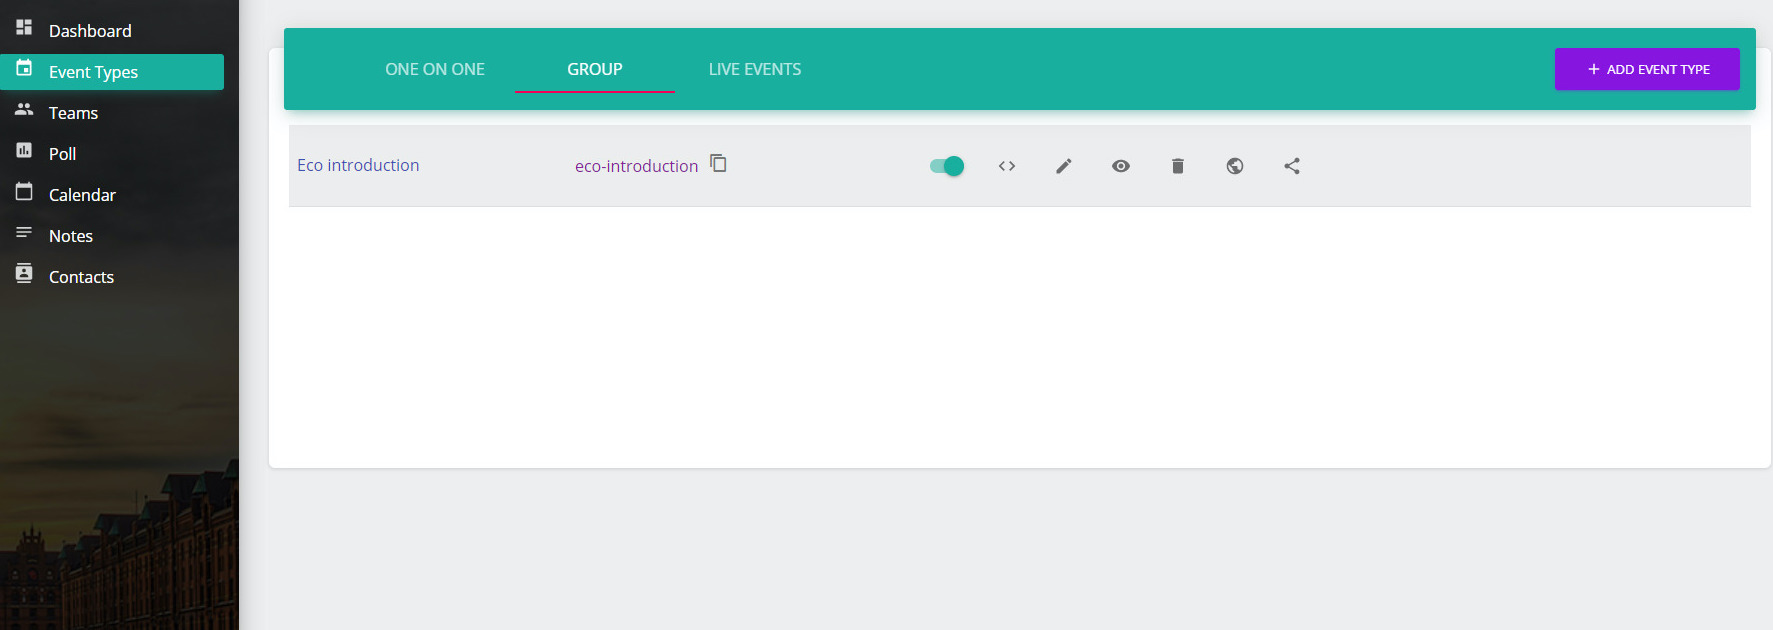
To preview the event and its details go to the ‘Event Types’ tab and click on the event you want to preview.
4. Sharing your Event
To share your event click on the copy option and send that link to your clients in an email or message. Send this link to let people book in an appointment or schedule a meeting.

Your event is created and shared now. Your clients can visit this link to schedule a meeting in a hassle-free manner.